Create a User
Create a new user for your user pool
Note: Instead of having you write the browser-side code for managing the registration, verification, and sign in flows, we provide a working implementation in the assets you deployed in the first module by using the AWS Amplify Authentication UI component.
The Authenticator component provides basic login/logout functionality for an application, as well as confirmation steps for new user registration and user login.
Usage: <amplify-authenticator></amplify-authenticator>
Implementation Validation
-
Visit
/authunder your website domain, or choose the Giddy Up! button on the homepage of your site. -
Click on the Create Account link at the bottom of the sign in box.
-
Complete the registration form and choose Create Account. You can use your own email or enter a fake email. Make sure to choose a password that contains at least one upper-case letter, a number, and a special character. Don’t forget the password you entered for later. You should see an alert that confirms that your user has been created.
⚠️
If you get an Authentication Error this is likely because your changes have not finished deploying.
-
Confirm your new user using one of the two following methods.
-
If you used an email address you control, you can complete the account verification process by entering the verification code that is emailed to you. Please note, the verification email may end up in your spam folder. For real deployments we recommend configuring your user pool to use Amazon Simple Email Service to send emails from a domain you own.
-
If you used a dummy email address, you must confirm the user manually through the Cognito console.
- From the AWS console, click Services then select Cognito under Security, Identity & Compliance.
- Choose Manage your User Pools
- Select the user pool prefixed with
wildrydesand click Users and groups in the left navigation bar. - You should see a user corresponding to the email address that you submitted through the registration page. Choose that username to view the user detail page.
- Choose Confirm user to finalize the account creation process.
-
After confirming the new user using either the verrification code or the Cognito console, click on the back to sign in link or refresh the /auth page and log in using the email address and password you entered during the registration step.
-
If successful you should be redirected to
/ride. You should see a notification that the API is not configured.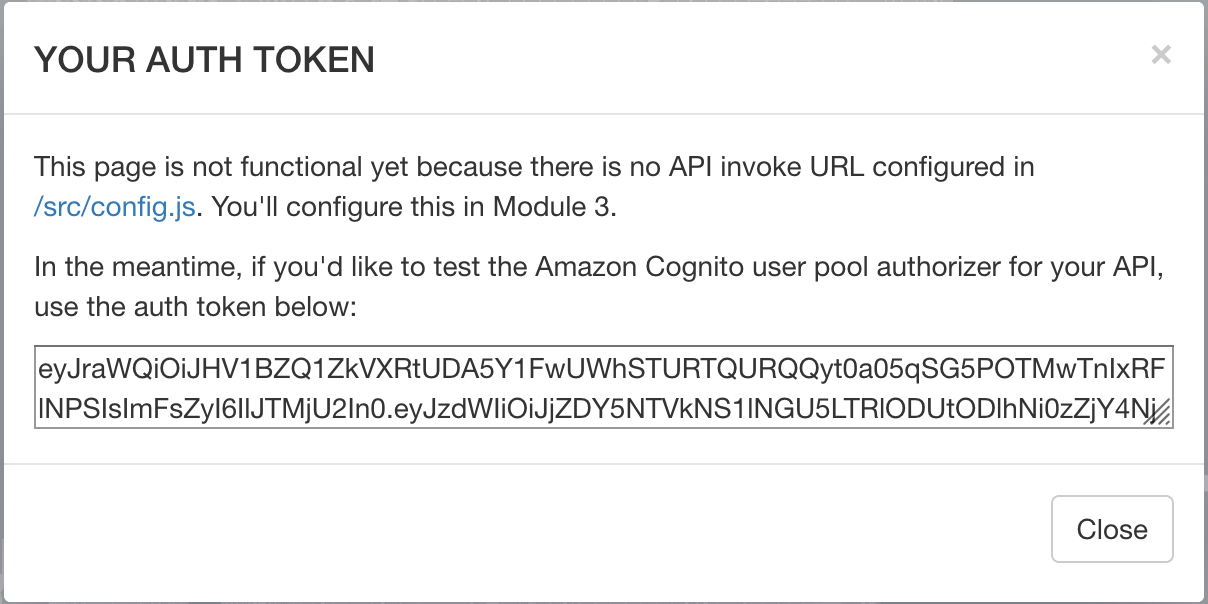
Recap
Amazon Cognito provides two different capabilities for managing users, federated identities and user pools. Amazon Cognito user pools handle almost any aspect about managing users, including login credentials, password resets, multifactor authentication and much more!
In this module you used user pools to create a fully-managed user management system that allows you to authenticate your users and manage their user information. You updated your website to use the user pool, and used the AWS SDKs to provide a signin form on the site.
Next
After you have successfully logged into your web application, you can proceed to the next module, Serverless Backend.
Extra
Try copying the auth_token you’ve received and paste that into an online JWT Decoder to understand what this token means for your application