IAM
Create an IAM Role for Your Lambda Function
Background
Every Lambda function has an IAM role associated with it. This role defines what other AWS services the function is allowed to interact with. In this workshop, you create an IAM role that grants your Lambda function permission to write logs to Amazon CloudWatch Logs and access to write items to your DynamoDB table.
High-Level Instructions
Use the IAM console to create a new role. Name it WildRydesLambda and select AWS Lambda for the role type. You’ll need to attach policies that grant your function permissions to write to Amazon CloudWatch Logs and put items to your DynamoDB table.
Attach the managed policy called AWSLambdaBasicExecutionRole to this role to grant the necessary CloudWatch Logs permissions. Also, create a custom inline policy for your role that allows the dynamodb:PutItem action for the table you created in the previous section.
- Go to the AWS IAM Console
- Select Roles in the left navigation bar and then choose Create role.
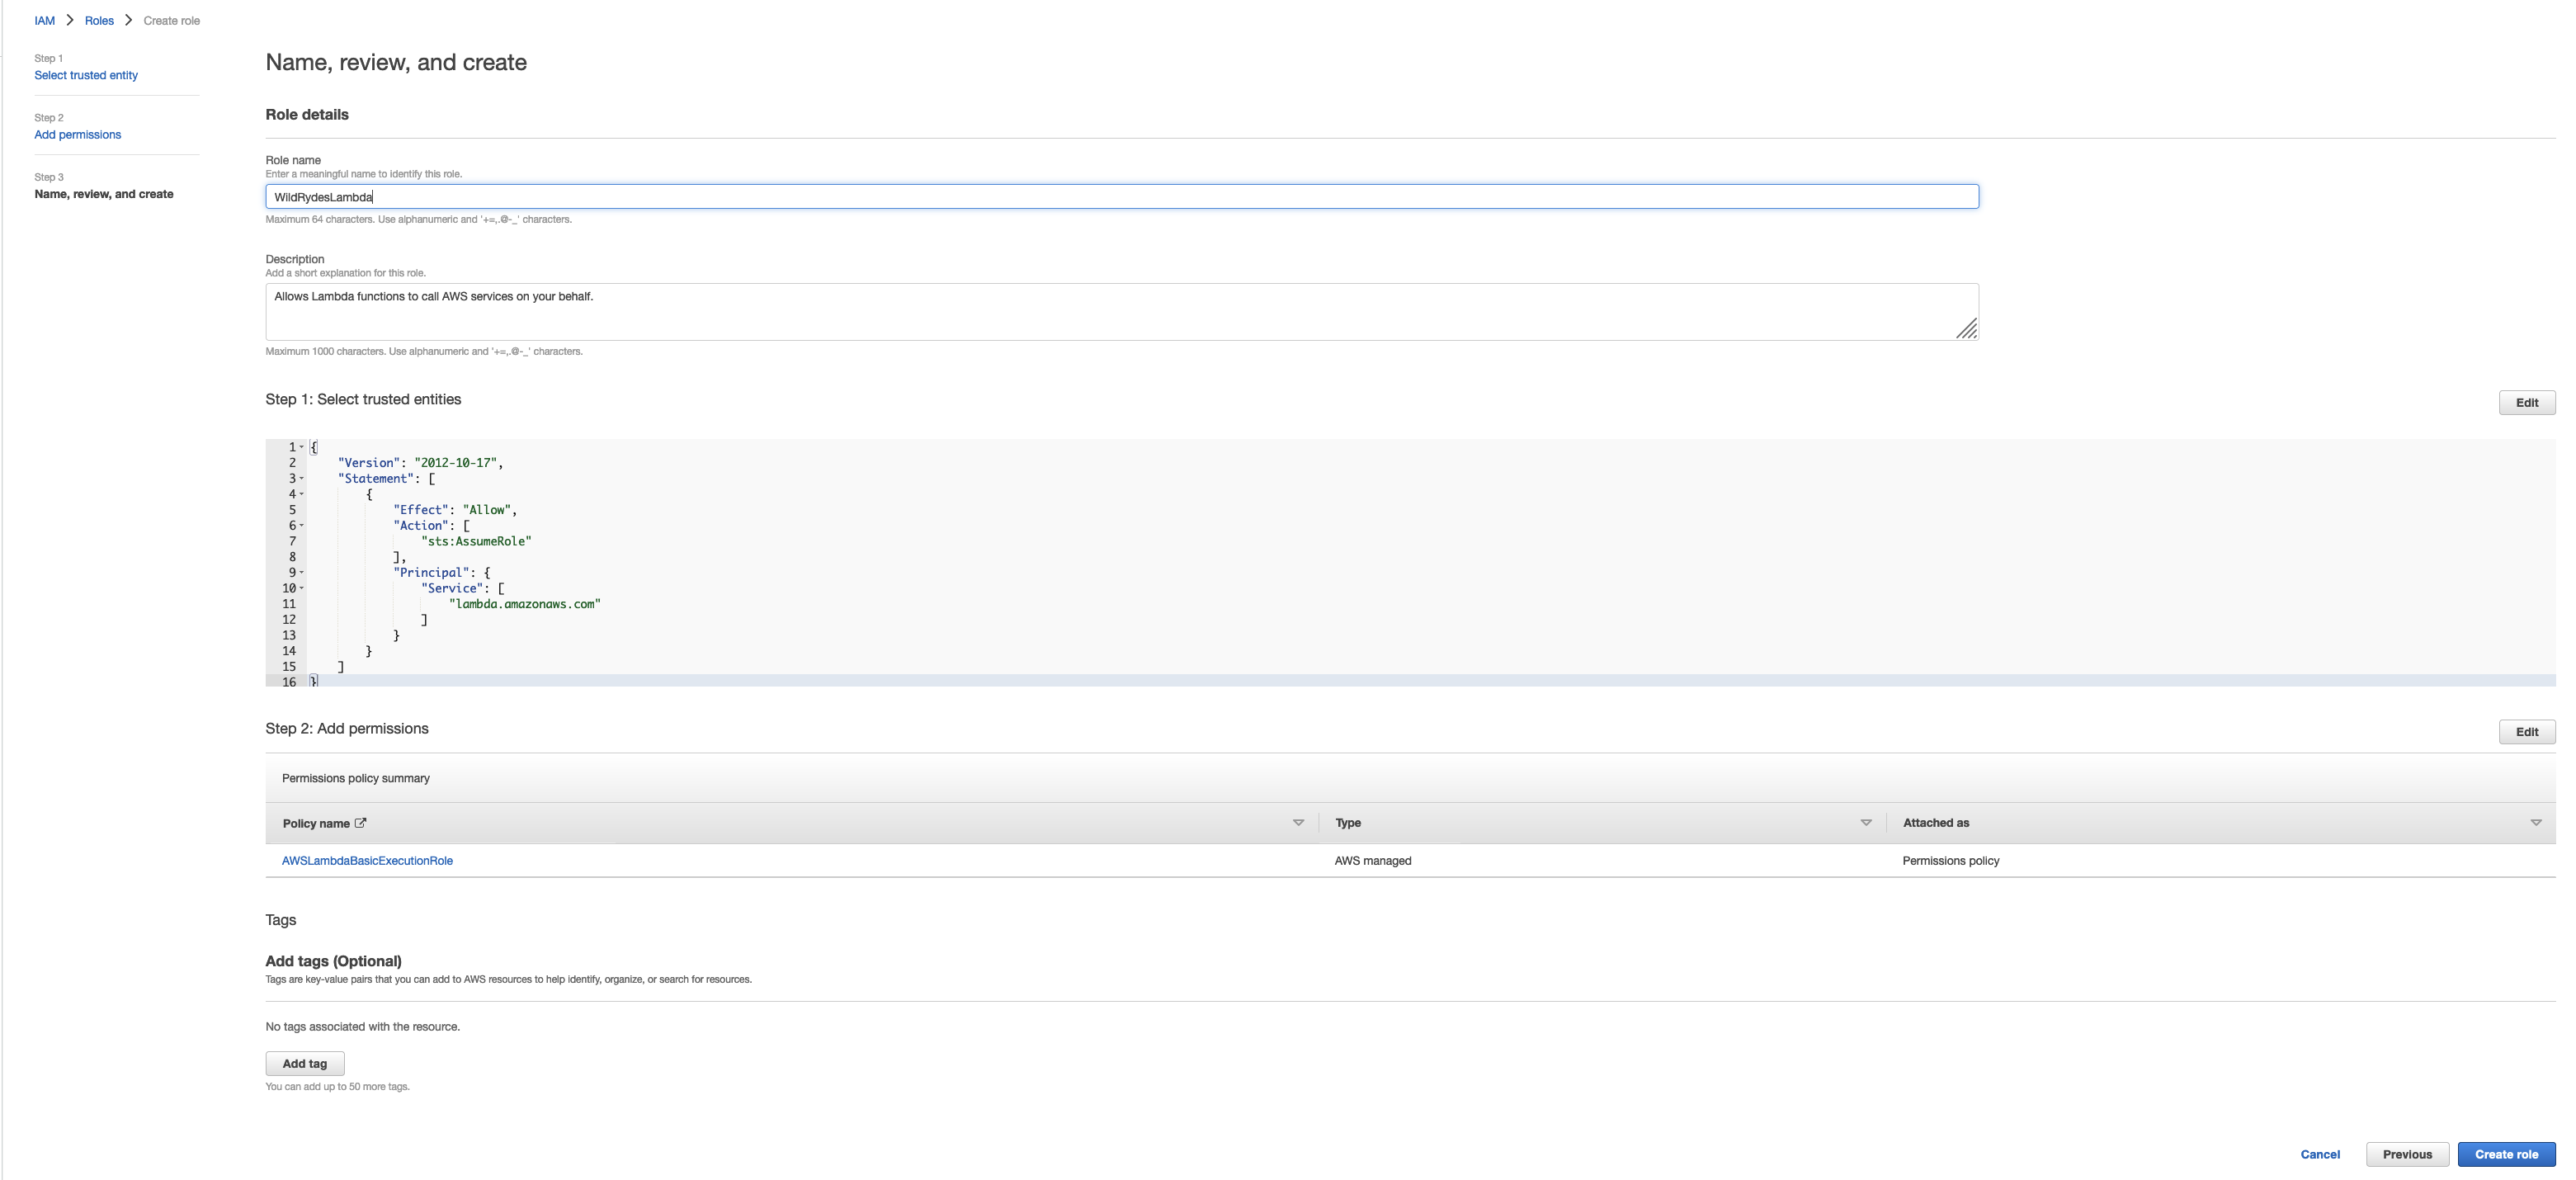
- Under Use case, Select Lambda from the AWS services, then click Next
Selecting a role type automatically creates a trust policy for your role that allows AWS services to assume this role on your behalf. If you were creating this role using the CLI, AWS CloudFormation or another mechanism, you would specify a trust policy directly.
- Begin typing
AWSLambdaBasicExecutionRolein the Filter text box and check the box next to that managed role, then Click Next - Enter
WildRydesLambdafor the Role name. Add any tags that you wish. - Choose Create role.
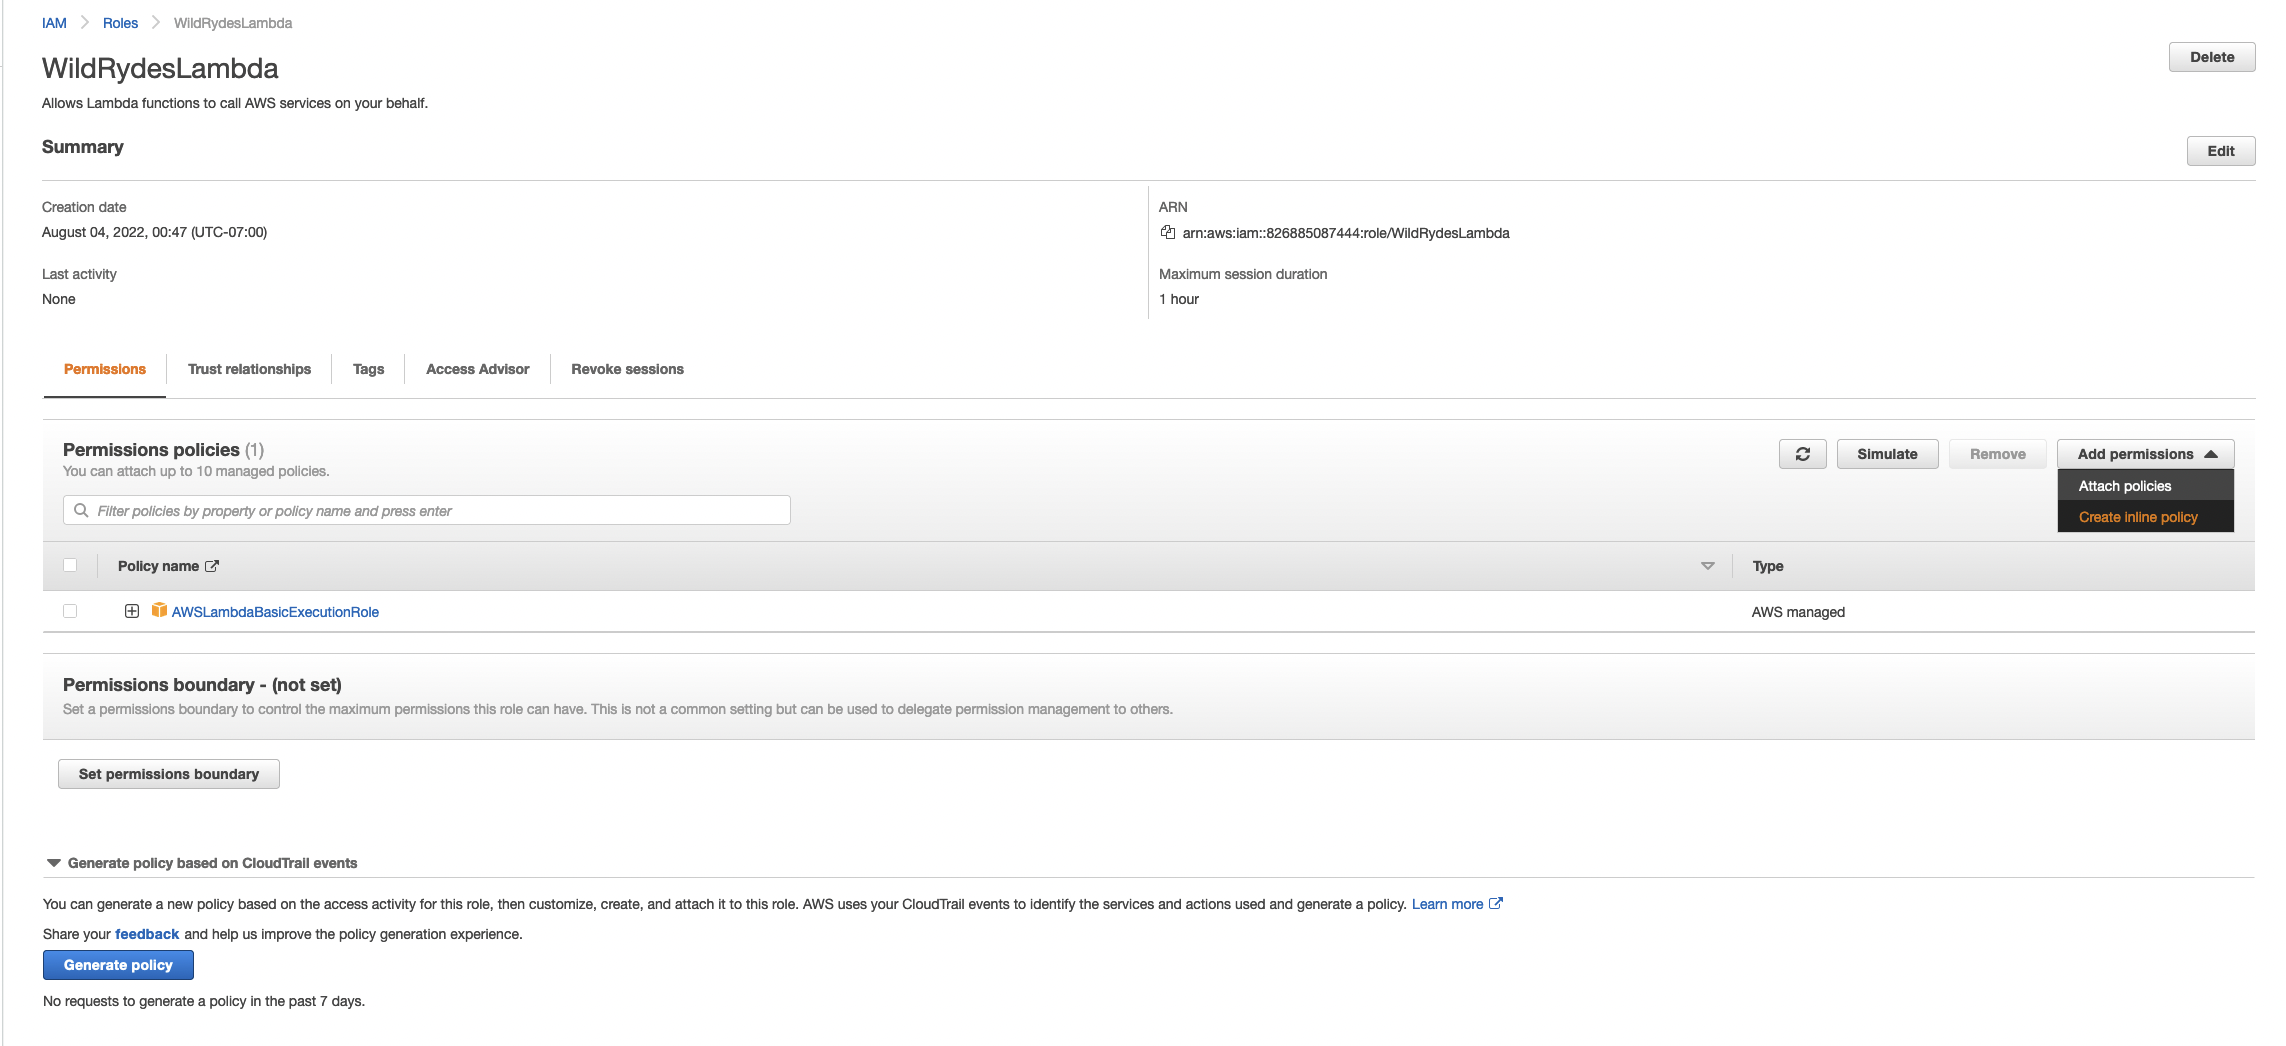
Next you need to add permissions to the role so that it can access your DynamoDB table.
- While in the IAM Console on the roles page type
WildRydesLambdainto the filter box and click the role name. - Under the Add Permissions tab, choose the create inline policy
- Select Choose a service.
- Begin typing
DynamoDBinto the search box labeled Find a service and select DynamoDB when it appears.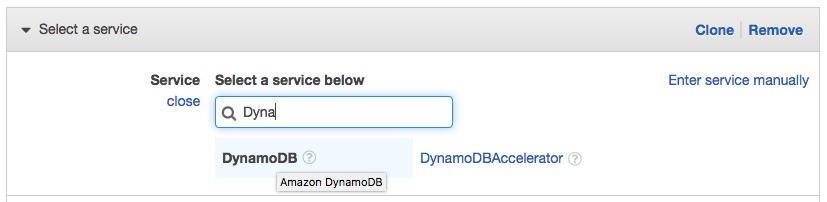
- Choose Select actions.
- Begin typing
PutIteminto the search box labeled Filter actions and check the box next to PutItem when it appears. - Select the Resources section.
- With the Specific option selected, choose the Add ARN link in the table section.
- Paste the ARN of the table you created in the previous section in the Specify ARN for table field, and choose Add.
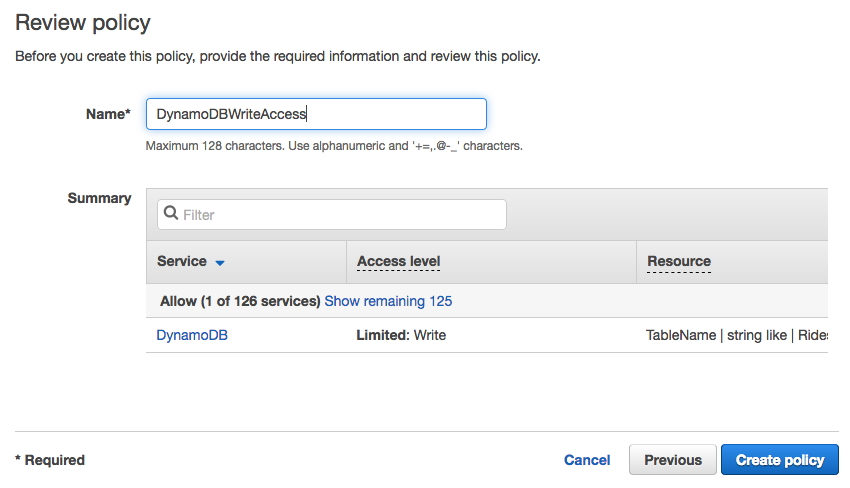
- Choose Review Policy.
- Enter
DynamoDBWriteAccessfor the policy name and choose Create policy.